Creating Stairs in Revit

Stairs are vital for vertical mobility in buildings, essential for accessibility and connectivity. They play a key role in architectural plans by illustrating how occupants navigate vertical space, ensuring designs meet functional requirements. With modern software such as Revit, plan integration is automated, eliminating manual work. Its parametric design capabilities enable flexible and responsive stair creation, easily adjusting to changes in dimensions, materials, or configurations while maintaining design consistency and accuracy. Here’s a guide on how to create them: 

Navigate to the Stair Tool

Go to the Architecture tab on the ribbon menu. In the Circulation panel, you’ll find the Stair tool. Click on it to start creating stairs.

Choose Stair Type

Revit offers various predefined stair types such as straight, L-shaped, U-shaped, spiral, and more. Select the appropriate stair type based on your design requirements.

Place the Base Boundary

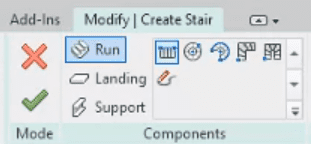
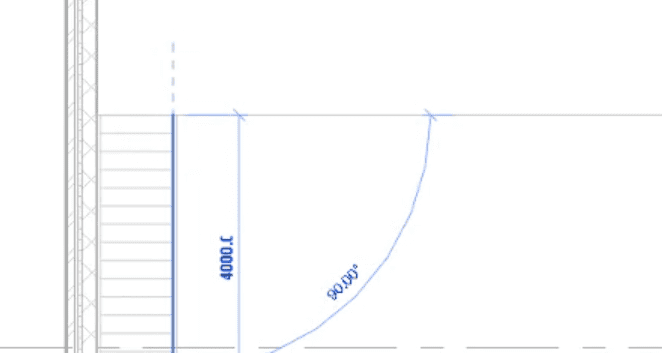
Click to place the base boundary of the stairs in your floor plan view. Depending on the stair type selected, you may need to define the run direction and landing configurations.

Adjust Dimensions and Properties

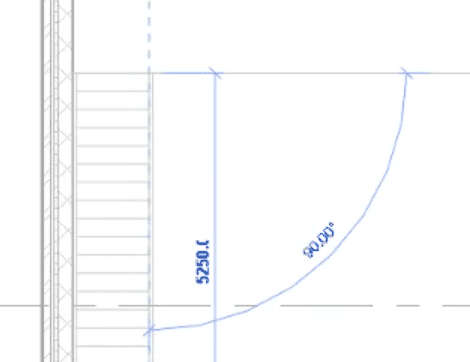
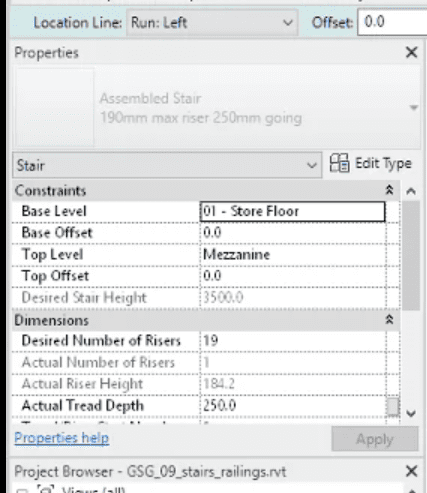
After placing the base boundary, you can adjust the dimensions of the stairs, including riser height, tread depth, tread nosing, number of risers, and the width of the stair flight. Use the properties palette or the options bar to modify these parameters.

Add Landings (optional)

If your design requires intermediate landings or platform landings, you can add them by selecting the landing tool and placing them along the stair flight.

Customize Stair Components

Revit allows for customization of stair components such as stringers, treads, risers, nosings, and railings. You can modify the materials, profiles, and visibility of these components to align with your design intent.

Adjust Stair Path and Connections

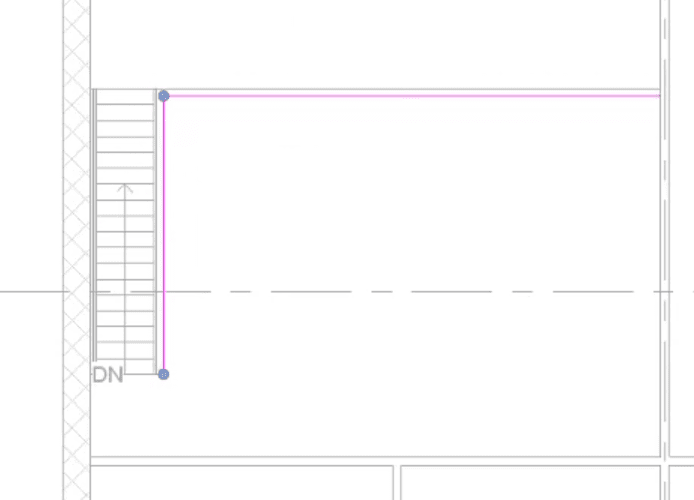
Fine-tune the path of the stairs by adjusting the sketch lines or using the grip handles to modify the shape and alignment. Ensure that the stair connections are properly aligned with floors, levels, and other building elements for accurate representation.

Add Railing (optional)

If your stairs require railings, you can use the railing tool to add handrails, guardrails, and balusters along the stair edges. Customize the railing type, height, and other properties as needed.

Review and Modify as Necessary

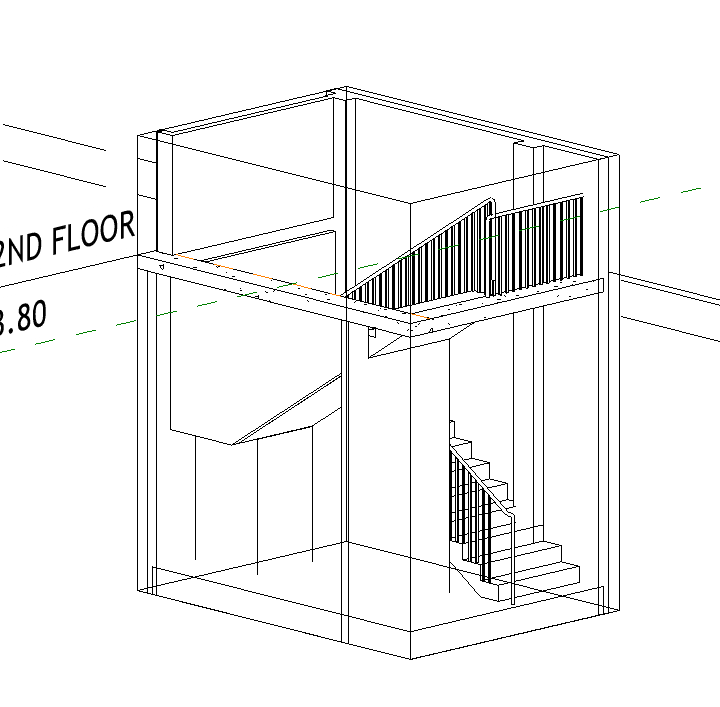
Once the stairs are placed and configured, review them in 3D views and section views to ensure they meet design specifications, code requirements, and aesthetic preferences. Make any additional modifications or adjustments as necessary.

Document and Annotate

Limitations of Revit in saving to older versions and handling newer RVT file formats in older versions underscore the importance of proactive version management, collaboration strategies, and consideration of interoperability challenges in BIM workflows. While these limitations can be frustrating, available tools can be leveraged to navigate compatibility issues. 

Was this insightful? Give a thumbs up or post a comment.

For more of our blogs, check out https://mgsglobalgroup.com/blog/

mgs global group linzi

Connect with us!

573430cookie-checkCreating Stairs in Revit
Subscribe
Notify of
guest
0 Comments
Oldest
Newest Most Voted
Inline Feedbacks
View all comments
error: