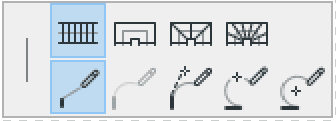
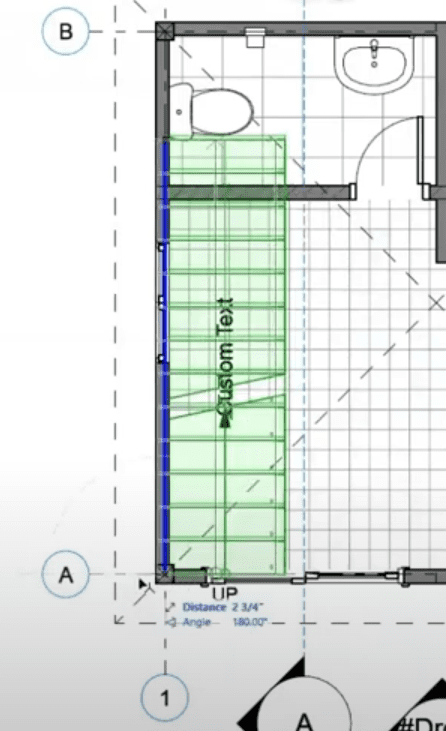
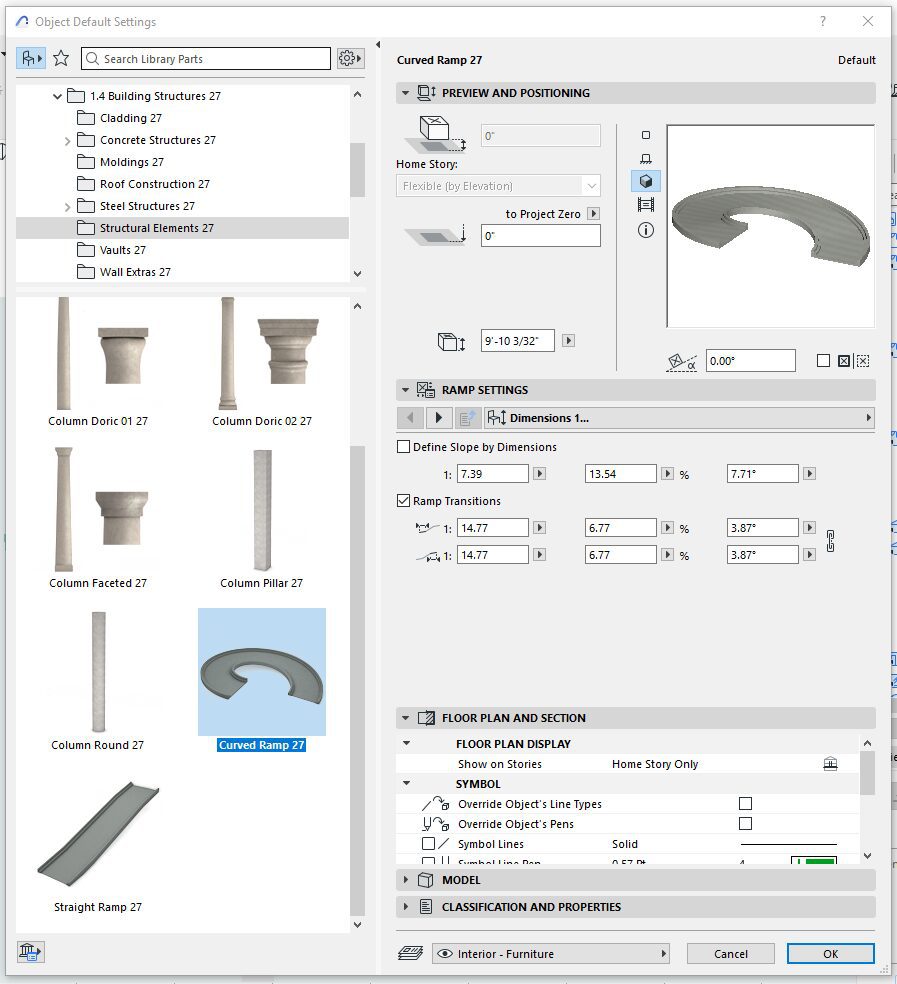
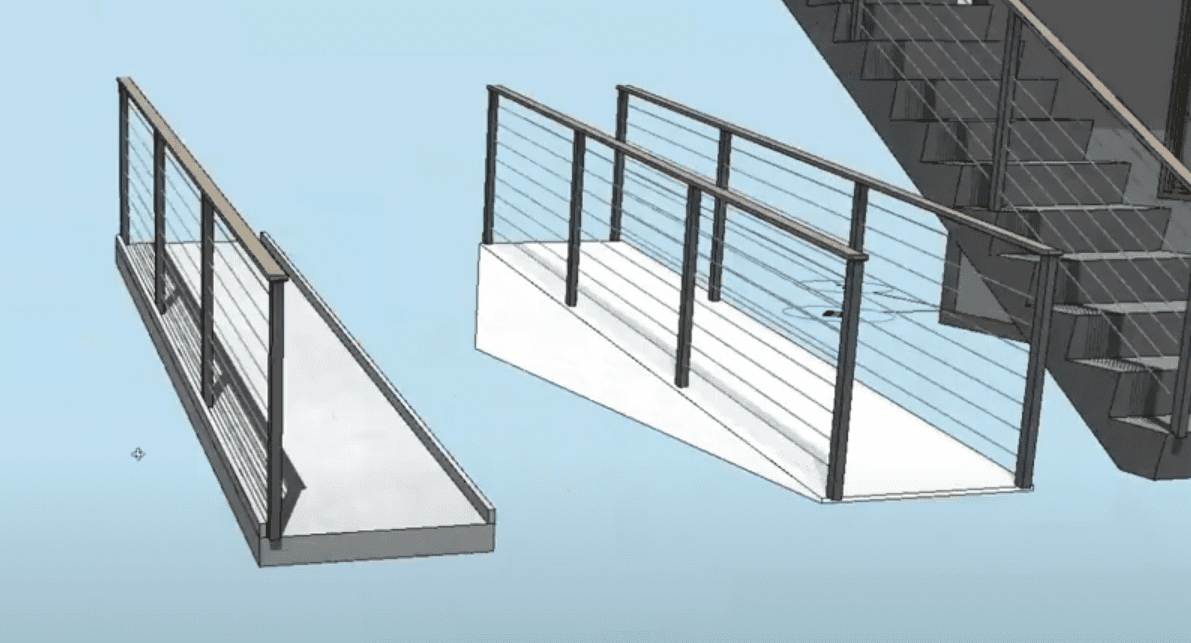
How to Create Stairs and Ramps in ArchiCAD

The Stair tool in ArchiCAD allows for extensive customization, including dimensions, materials, railing types, and more. ArchiCAD offers a wide range of predefined stair types, including straight, spiral, and custom-shaped stairs, allowing architects to choose or design stairs that best fit the project’s requirements.

Creating Stairs in ArchiCAD

There are various types of stairs you can create in ArchiCAD. Here are some common types:

Single Flight: A simple, linear staircase without any turns or landings.

Helical (Curved) Stairs: A spiral stair that forms a helix shape without a central column, often used for a more modern and elegant look.
Multiple Flights with Landings: A straight stair design that includes landings between flights, allowing for changes in direction or breaks in the ascent.
Half Turn: A staircase that makes a 180-degree turn at a landing, forming a U-shape. A staircase that makes a 180-degree turn at a landing, forming a U-shape.
Quarter Turn: A staircase that makes a 90-degree turn at a landing, forming an L-shape.

Let’s try it out on our project

Go to the Toolbox on the left side of the screen and click on the ‘Stair’ tool. In the Info Box, you can choose from a variety of predefined stair types. Select the one that best fits your design needs.
Click on the floor plan where you want the stair to start. You can click again to define the end point or draw the entire path if needed.
After placing the stair, you can edit its properties by selecting it and opening the Stair Settings dialog. Here, you can adjust dimensions, materials, and other parameters.

Designing Ramps with ArchiCAD

While ArchiCAD doesn’t have a dedicated ramp tool, you can create ramps using alternative methods:
 
Open the Object Tool from the Toolbox.
 
Search for the ‘Ramp’ object in the Library under Object Settings. Place the ramp on the floor plan and customize its dimensions, slope, surface materials, and railings as necessary.
 
Select the ‘Mesh’ tool from the Toolbox and draw the shape of your ramp according to dimensions. Adjust the elevation using the Pet Palette’s elevation tool to achieve the desired slope.
 
Add railings using the dedicated ‘Railings’ tool to enhance safety and aesthetics. Ensure all elements, including stairs and ramps, are properly organized within the correct layers and stories for better project management and clarity.

Conclusion 

Explore the possibilities within ArchiCAD’s stair and ramp tools by following these steps. Use the stair tool to design any unique type of stairs on your project. You can also head on to our YouTube channel for a video tutorial on ‘How to create stairs and ramps in ArchiCAD’. Stay tuned for our weekly postings on our ArchiCAD Crash Course.

Was this insightful? Give a thumbs up or post a comment.

For more of our blogs, check out https://mgsglobalgroup.com/blog/

mgs global group linzi

Connect with us!

662430cookie-checkHow to create stairs and ramps in ArchiCAD
Subscribe
Notify of
guest
0 Comments
Oldest
Newest Most Voted
Inline Feedbacks
View all comments
error: