How to Create Massing Forms in Revit
- 5 min read
- October 19, 2023
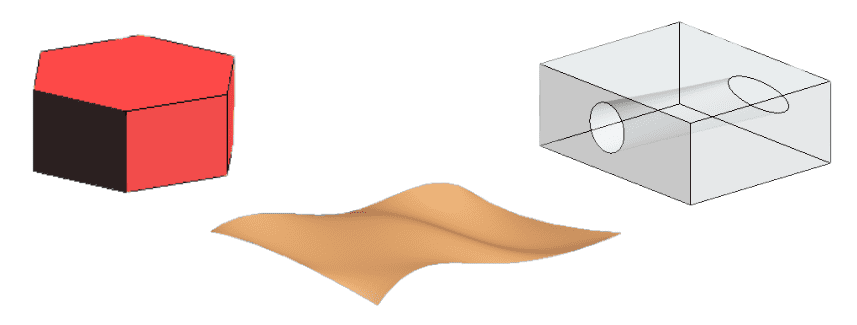
When making architectural drawings, you can’t immediately create a final form without having a concept. Creating massing forms is an essential part of the conceptual design phase which helps architects and designers explore the overall shape and size of a building before getting into a more detailed design. Here is a step by step guide to start on creating massing forms in Revit:

Navigating Massing
There are two options on navigating “massing”:
First option: Click In-Place Mass then name your mass. This will automatically direct you to the massing environment. This step is useful for immediate massing and doesn’t require repetitive objects on their project.

Second option: You can also select on the File tab, click ‘New‘ and choose ‘Conceptual Mass‘ tab. This will open up a separate family with the same tools to create your mass. This is important for projects that require repetitive objects on their model.

Utilize your Reference Planes and Levels
Reference planes and levels can help you align and constrain the mass forms accurately. Adept Revit users usually skip this part since they mostly rely on dimensions. But for some, especially beginners, reference planes are a helpful tool in creating complex shapes on your massing.
Creating extrusions
In creating a mass inside a project, you need to make sure that the “Model line” is selected.

Select a base shape you will use to create a form. You have the option to create a solid form or void form. You can also use the following tools to create massing forms within the mass family:
- Lines: Draw lines to create the outlines of your massing form.
- Loft: Use the Loft tool to create forms by defining two or more profiles and their connecting paths.
- Sweep: Create mass forms by sweeping a profile along a path.
- Revolve: Generate massing shapes by revolving a profile around an axis.
- Spline: This tool is important for curved walls, roads or other complex, non-linear features.

Edit Mass Forms
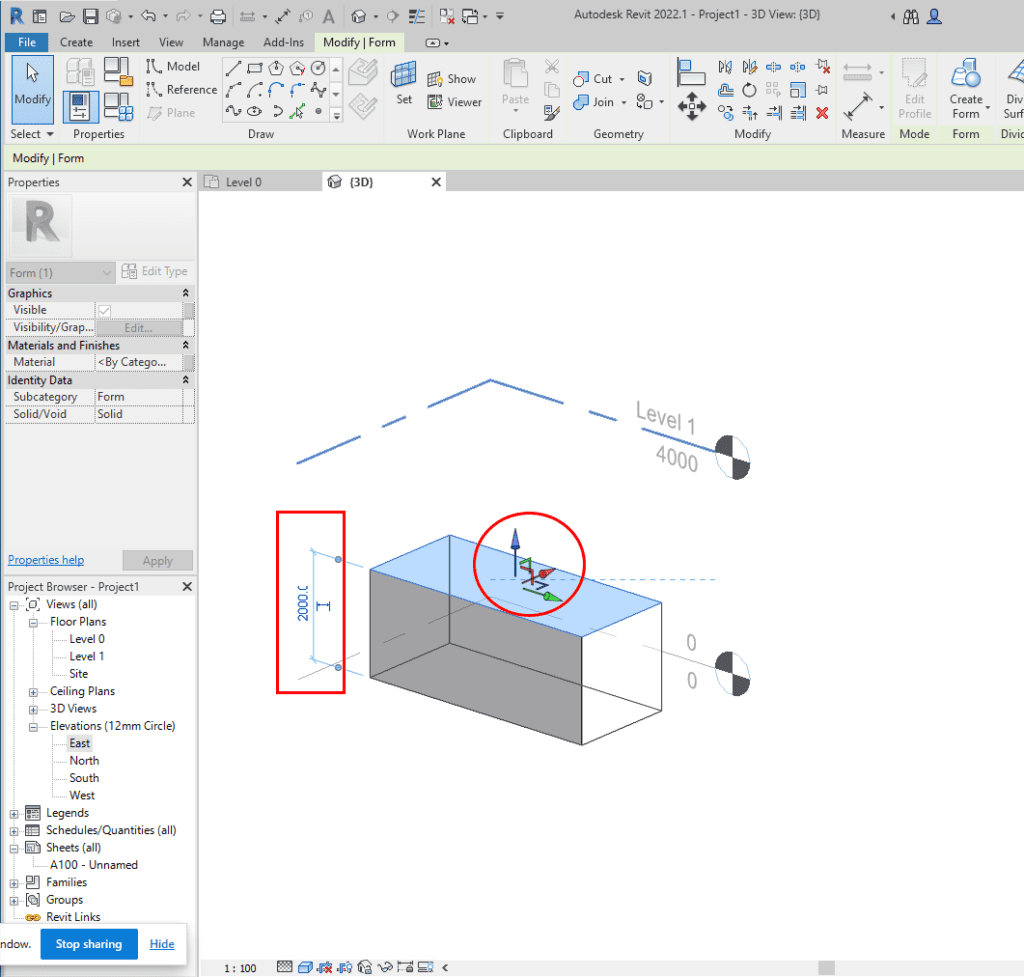
Modify the mass forms using the available editing tools, such as Move, Copy, Rotate, and Scale. You can also play around with your mass form by using the blue, green or red arrow that appears on the surface of your model or the tick signs.

Apply Materials and Textures
Assign materials and textures to the massing forms to give them a more realistic appearance. This can enhance the visual presentation to your massing forms. You can find this on the ‘Properties‘ palette. In the ‘Graphics‘ section, find the ‘Material‘ field and then click the three dots (…) to open the Material Browser.

Once you’ve finalized the massing model and are ready to move into detailed design, you can convert the mass forms into building elements like walls, floors, and roofs. You can have these guides as your early guides in creating complex or using adaptive components in Revit.

Was this insightful? Give a thumbs up or post a comment.
For more of our blogs, check out https://mgsglobalgroup.com/blog/.


