




How to Sync Revit 2026 with D5 Render
- 3 min read
- October 1, 2026
If you’re still exporting your Revit model every time you want to check a render, you’re wasting time. D5 Render’s live sync plugin connects directly to Revit, so changes you make to your model, materials, or lighting show up in D5 almost instantly, no export, no reimport, no waiting around.
D5 officially rolled out Revit 2026 support through a plugin update in mid 2025, and it’s been solid since. Here’s the current setup, start to finish. Prefer to watch instead of read? Here’s the video version.
What You’ll Need
- Revit 2026
- D5 Render (latest version)
- D5 Sync for Revit (the plugin)
Step 1: Install D5 Render and the Sync Plugin
Download D5 Render from D5’s website first, then grab D5 Sync for Revit separately. It installs like any other Revit add in, double click the .exe and follow the prompts. Once it’s done, restart Revit if it’s already open.
Step 2: Find the D5 Render Tab in Revit
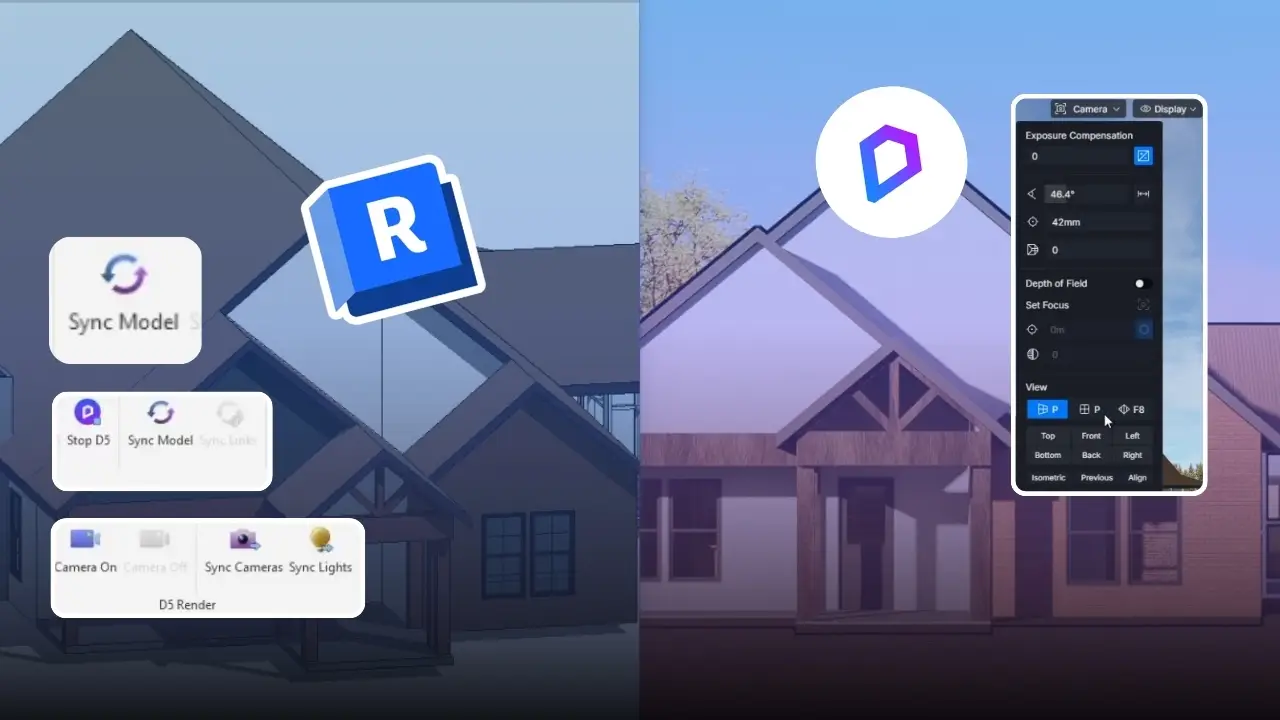
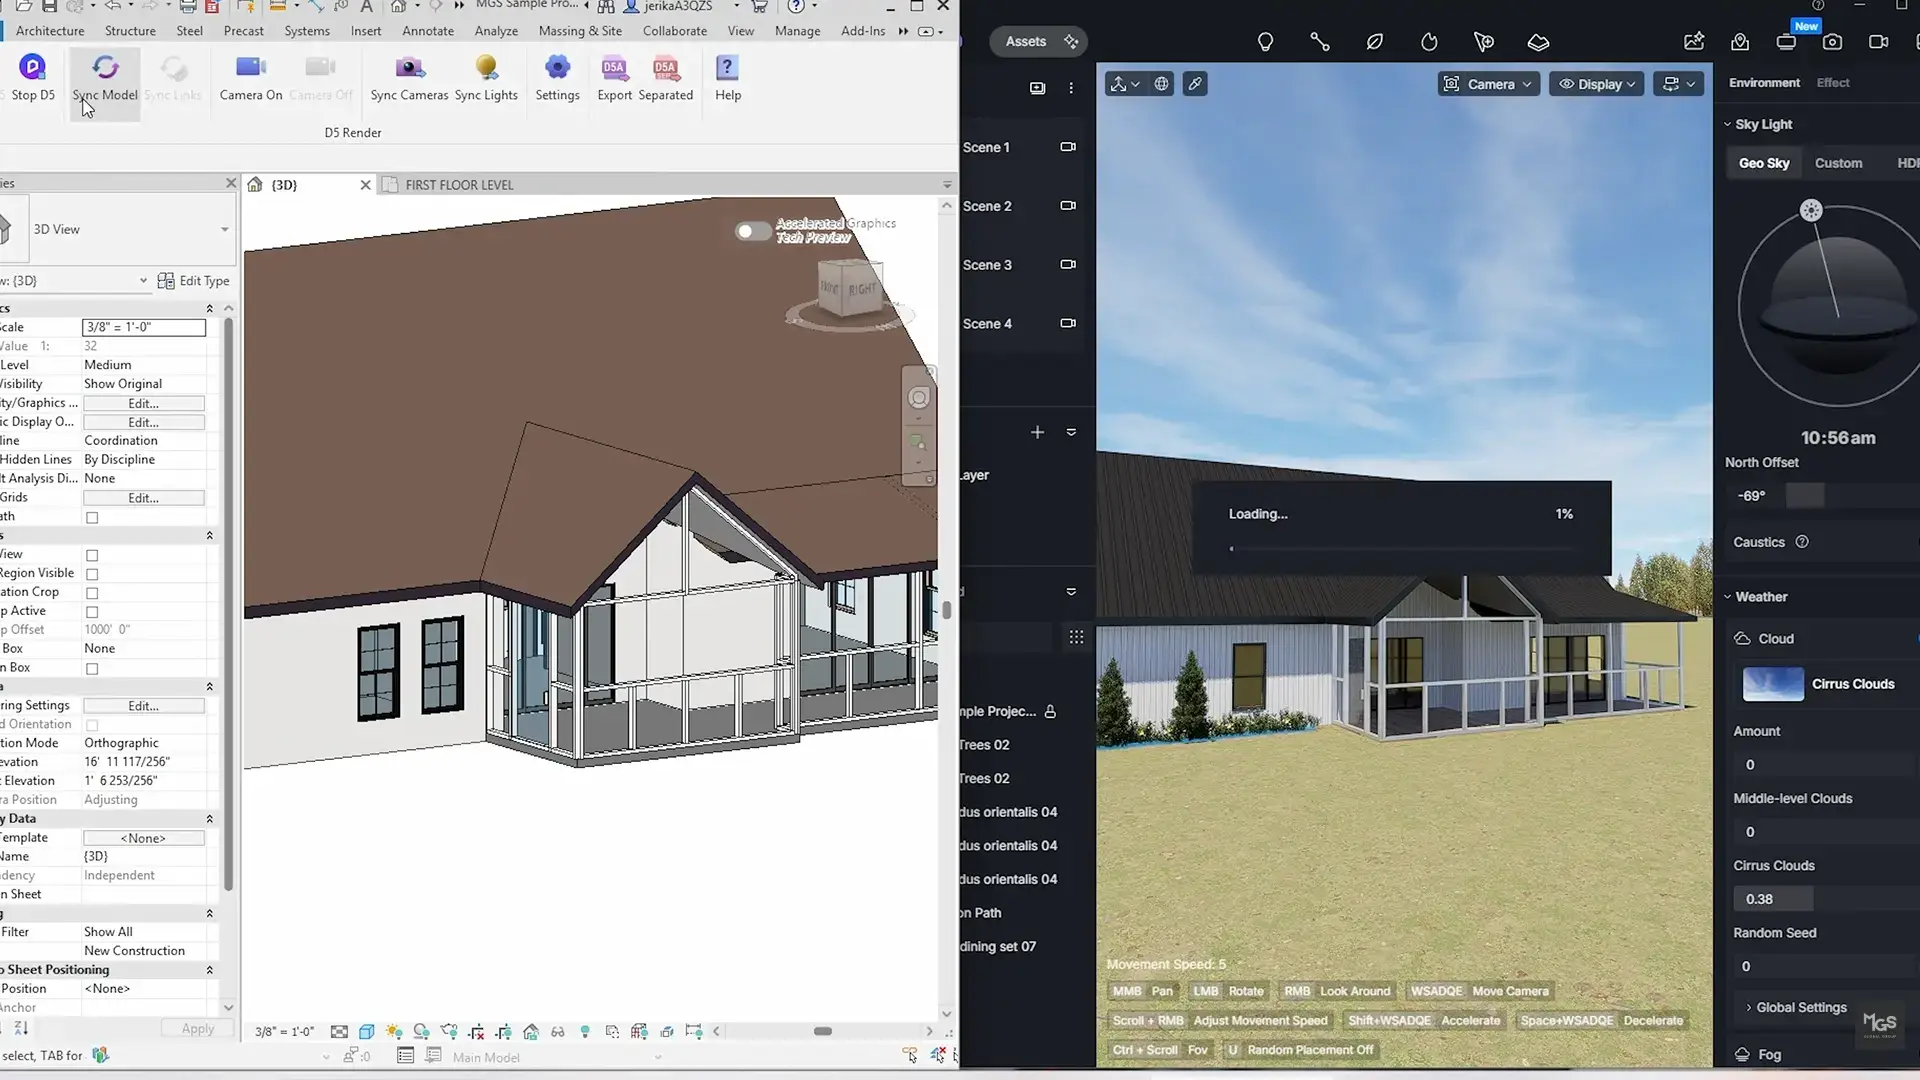
Open your project. You’ll see a new D5 Render tab in the Revit ribbon with three buttons: Start D5, Sync, and Export D5A. For a live connection, you’ll mostly be working with the first two.
Step 3: Check Your Sync Settings Before You Start
Before you start, take a quick look at the settings. Two are worth knowing:
- Use Survey Point: Turn this on if you’re working with linked Revit files. It keeps everything lined up correctly.
- Use Consistent Colors: This sends your model to D5 in plain colors, so you can add your own textures there.
You can also leave out things you don’t need, like furniture, so your D5 scene stays clean.
Step 4: Click Start D5
This launches D5 Render and imports your model directly, no exporting a file first. If D5 is already open, you’ll get a prompt to either create a new model or link to one that’s already imported.
Step 5: Set Up Materials, Lighting, and Assets in D5
Once your model’s in, assign materials from its library, pull in furniture or landscaping from the asset catalog, and adjust lighting, all while seeing the changes render in real time.
Step 6: Use Sync Whenever You Update the Model in Revit
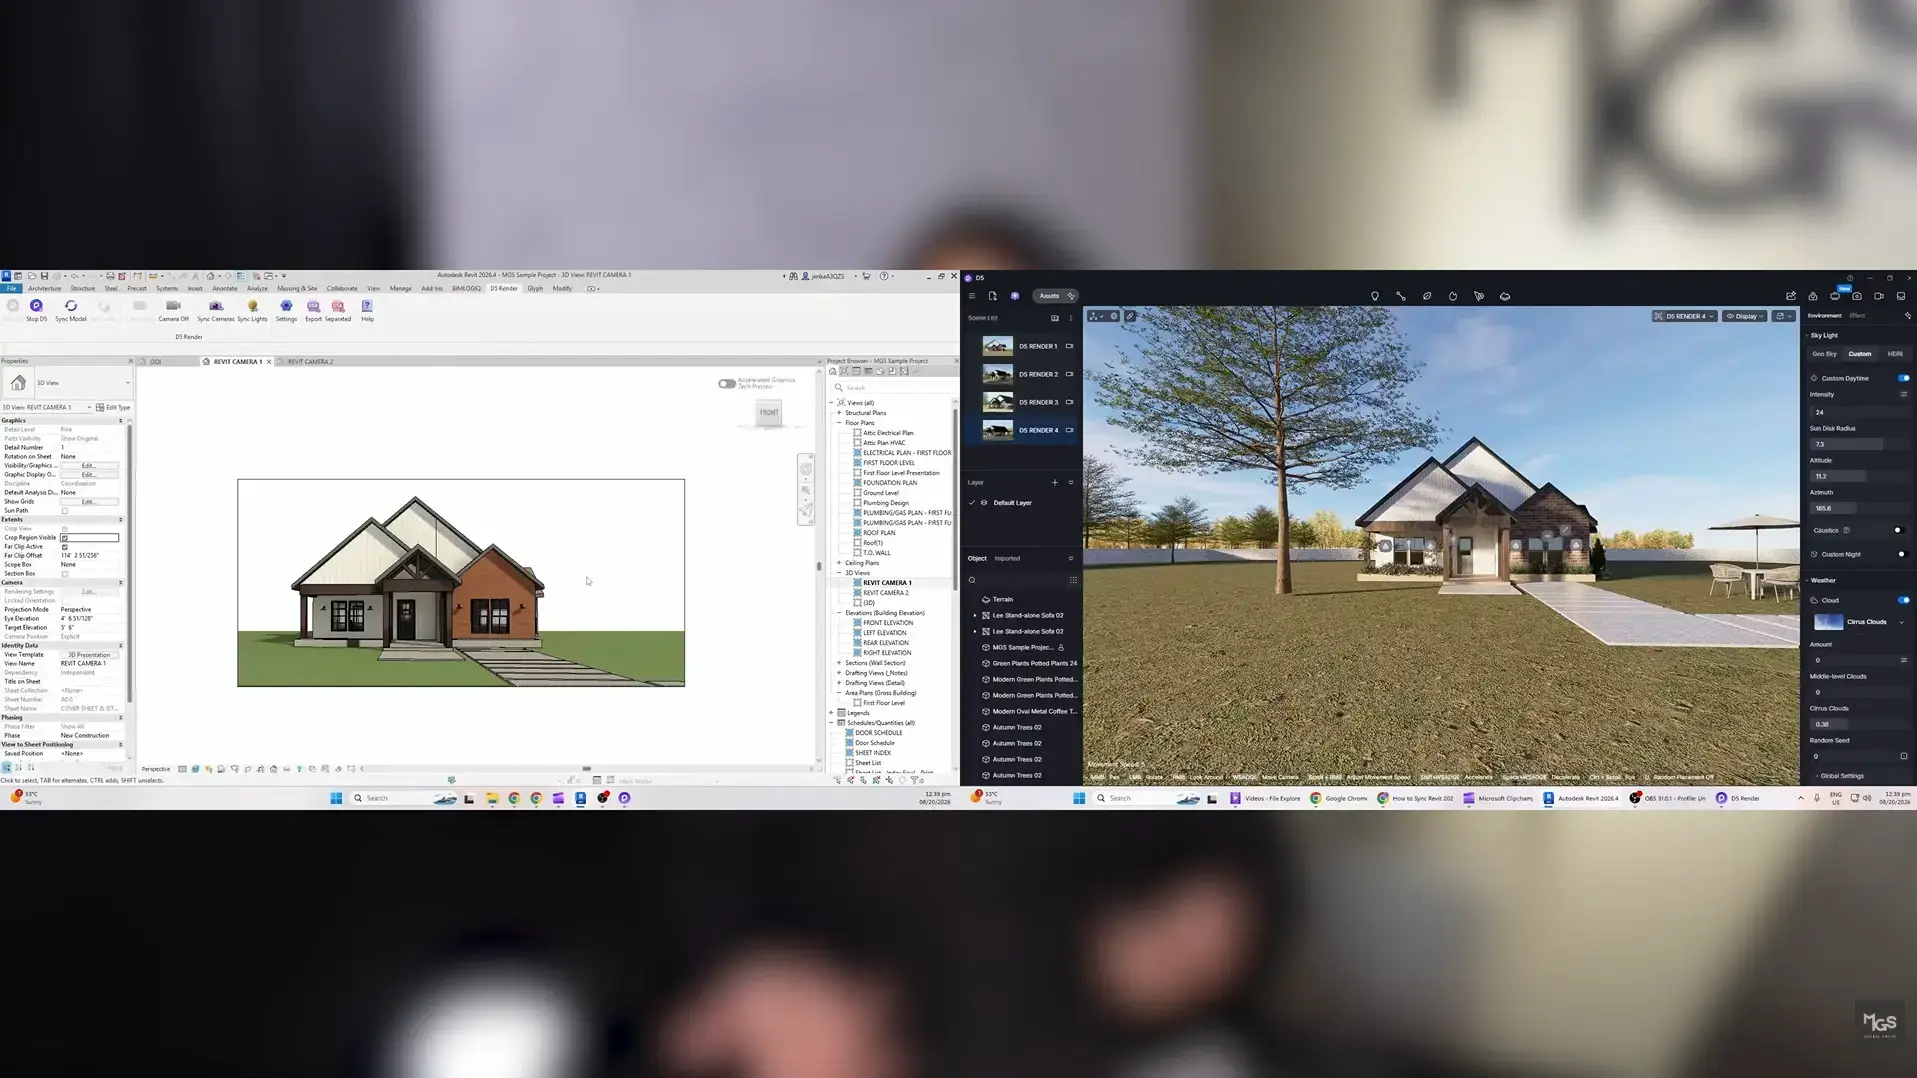
Made a change back in Revit, moved a wall, swapped a material, adjusted a light? Hit Sync. It’s an incremental update, so it only pushes what changed, and it won’t overwrite the materials or scene adjustments you’ve already made inside D5.
Step 7: Turn On View Sync for Live Camera Matching (Optional)
If you want your D5 viewport to follow whatever view you’re in inside Revit, turn on View Sync. It’s a nice way to walk a client through a design without jumping between two programs to line up the angle.
Quick Tip
If your top view looks flipped after syncing, that’s because D5 and Revit use different coordinate systems. Resync your top view with the plugin and it will line up again.
Final Thoughts
The whole point of a live sync plugin is removing the export and reimport cycle that used to make rendering feel like a separate project on top of the actual design work. Once it’s set up, updating a render after a design change takes one click instead of a file rebuild.
Don’t forget to watch the full video walkthrough of this exact workflow on our YouTube channel.
Enjoyed this post?
Explore more resources here or book a quick strategy call to learn how MGS Global Group can support all your drafting needs!